Kitchen Cabinet Trends 2025
Popular choices in design, color and finish
The year 2025 welcomes a collection of warm, neutral, and natural hues. In this blog, we delve into several key signature elements anticipated in today's designs.
Design and Layout:
- Expect minimalistic, clean, and uncluttered spaces featuring concealed pantries, preparation areas, and sculleries that effectively hide messes, enhancing the experience of entertaining.
- Incorporating drawers throughout lower cabinetry provides additional storage, improved organization, and a practical solution for accommodating heavy pots and pans.
- Expansive islands equipped with built-in appliances and seating merge form and function, creating a shared space for both gathering and cooking seamlessly.
- Full overlay European-style cabinetry takes the center stage with it's sleek, modern appeal while traditional partial overlay takes a backseat in 2025.
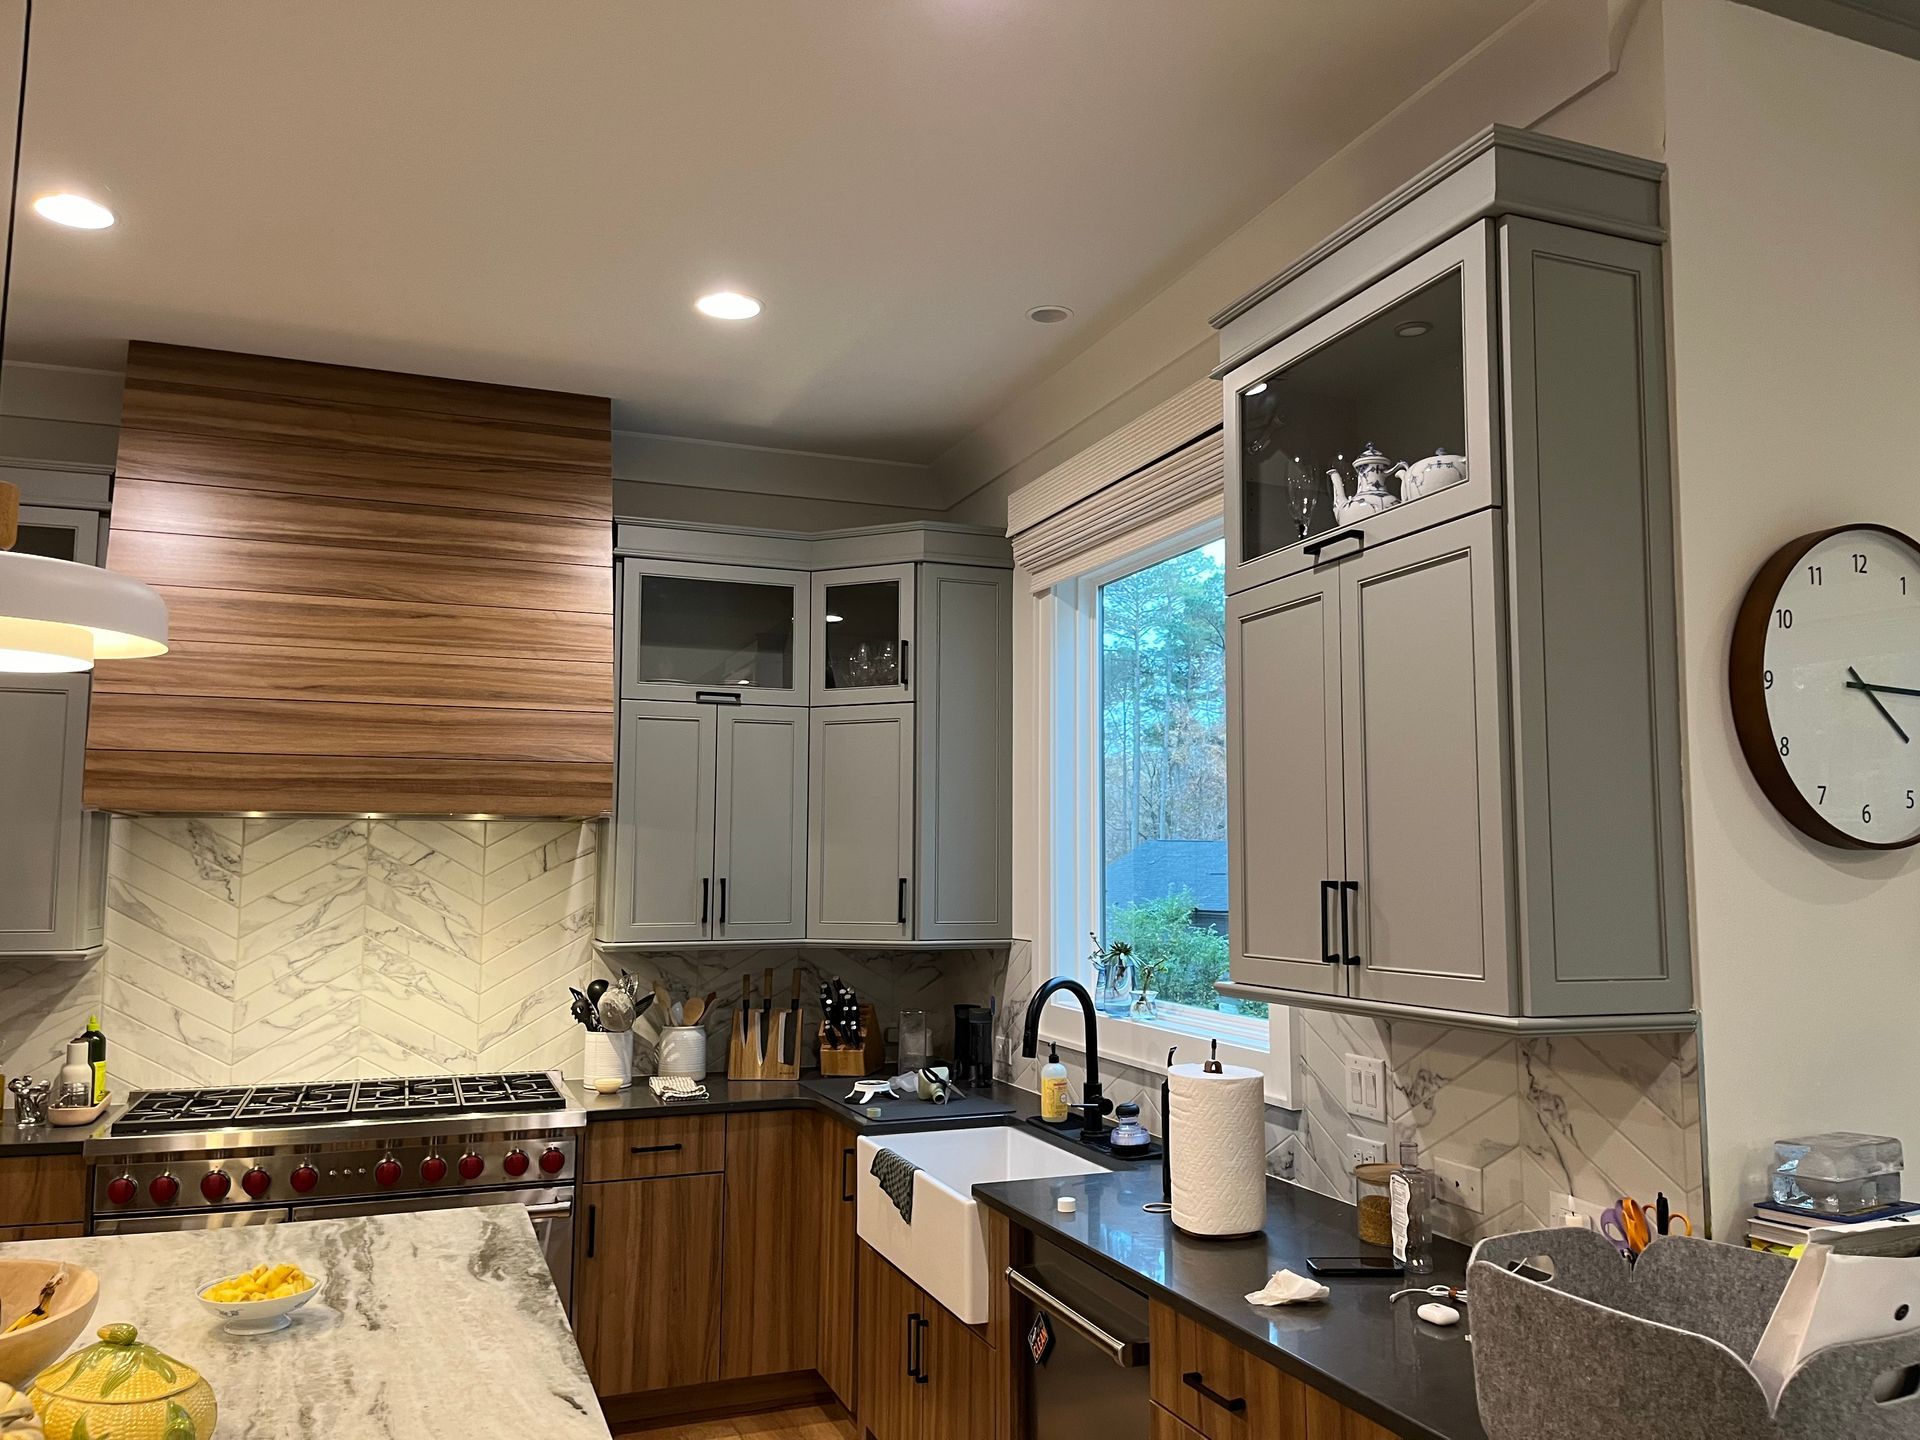
- Open Shelving to neatly display plates, glasses, or cool trinkets and artwork add structural visual interest to and open up otherwise crowded wall space.
- Under Cabinet Lighting highlights countertop and backsplash and brightens the space
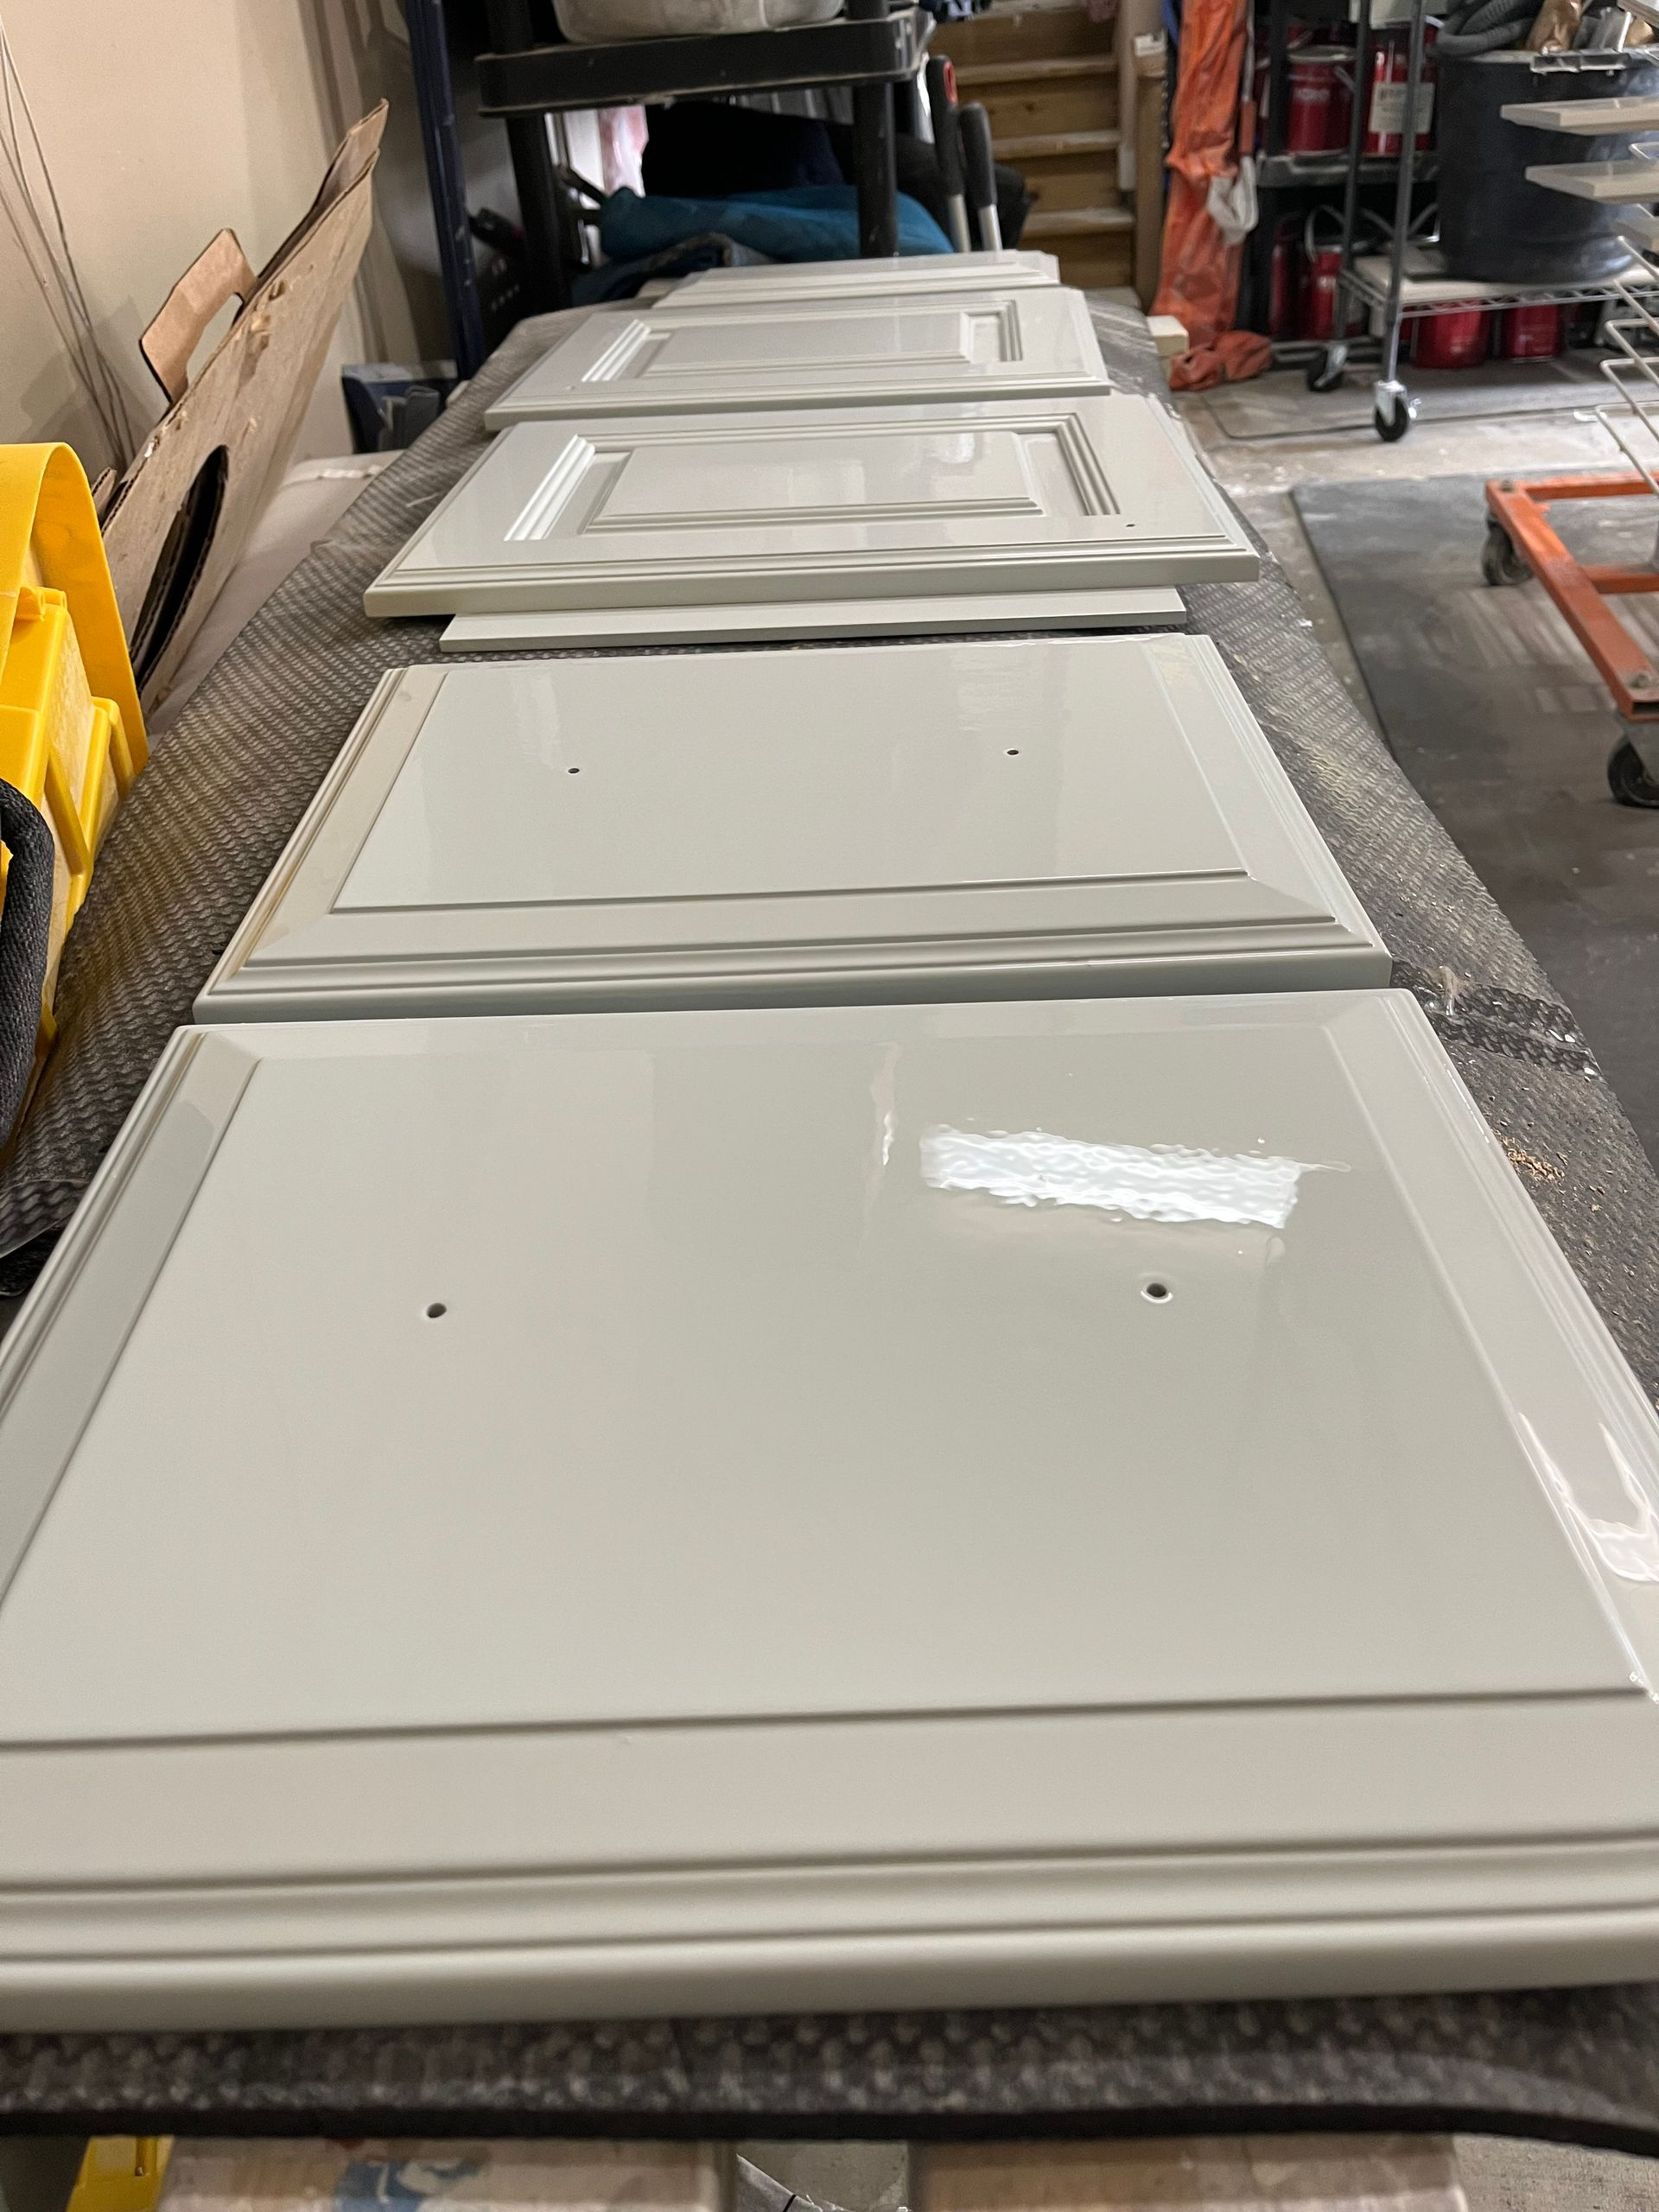
Color Trends: Warm tones are in vogue while cool hues have taken a back seat. The era of stark white, sterile kitchens is a thing of the past; inviting warm shades encourage friends and family to congregate in a more welcoming atmosphere. Additionally, combinations of diverse textures and colors are trending. Rich, stained wood paired with gentle off-whites, greiges (a blend of grey and beige), or striking deep colors are all the rage this year. Below are some of our top color selections:
- Off Whites: Benjamin Moore Swiss Coffee (Light Reflectance Value 83), Benjamin Moore White Dove (LRV 83), Benjamin Moore Seapearl (LRV 78) and Benjamin Moore Ballet White (LRV 72)
- Greiges: Benjamin Moore Classic Gray (LRV 73), Benjamin Moore Revere Pewter (LRV 55), Sherwin Williams Accessible Beige (LRV 58), Benjamin Moore Edgecomb Gray (LRV 63) and Benjamin Moore Pale Oak (68)
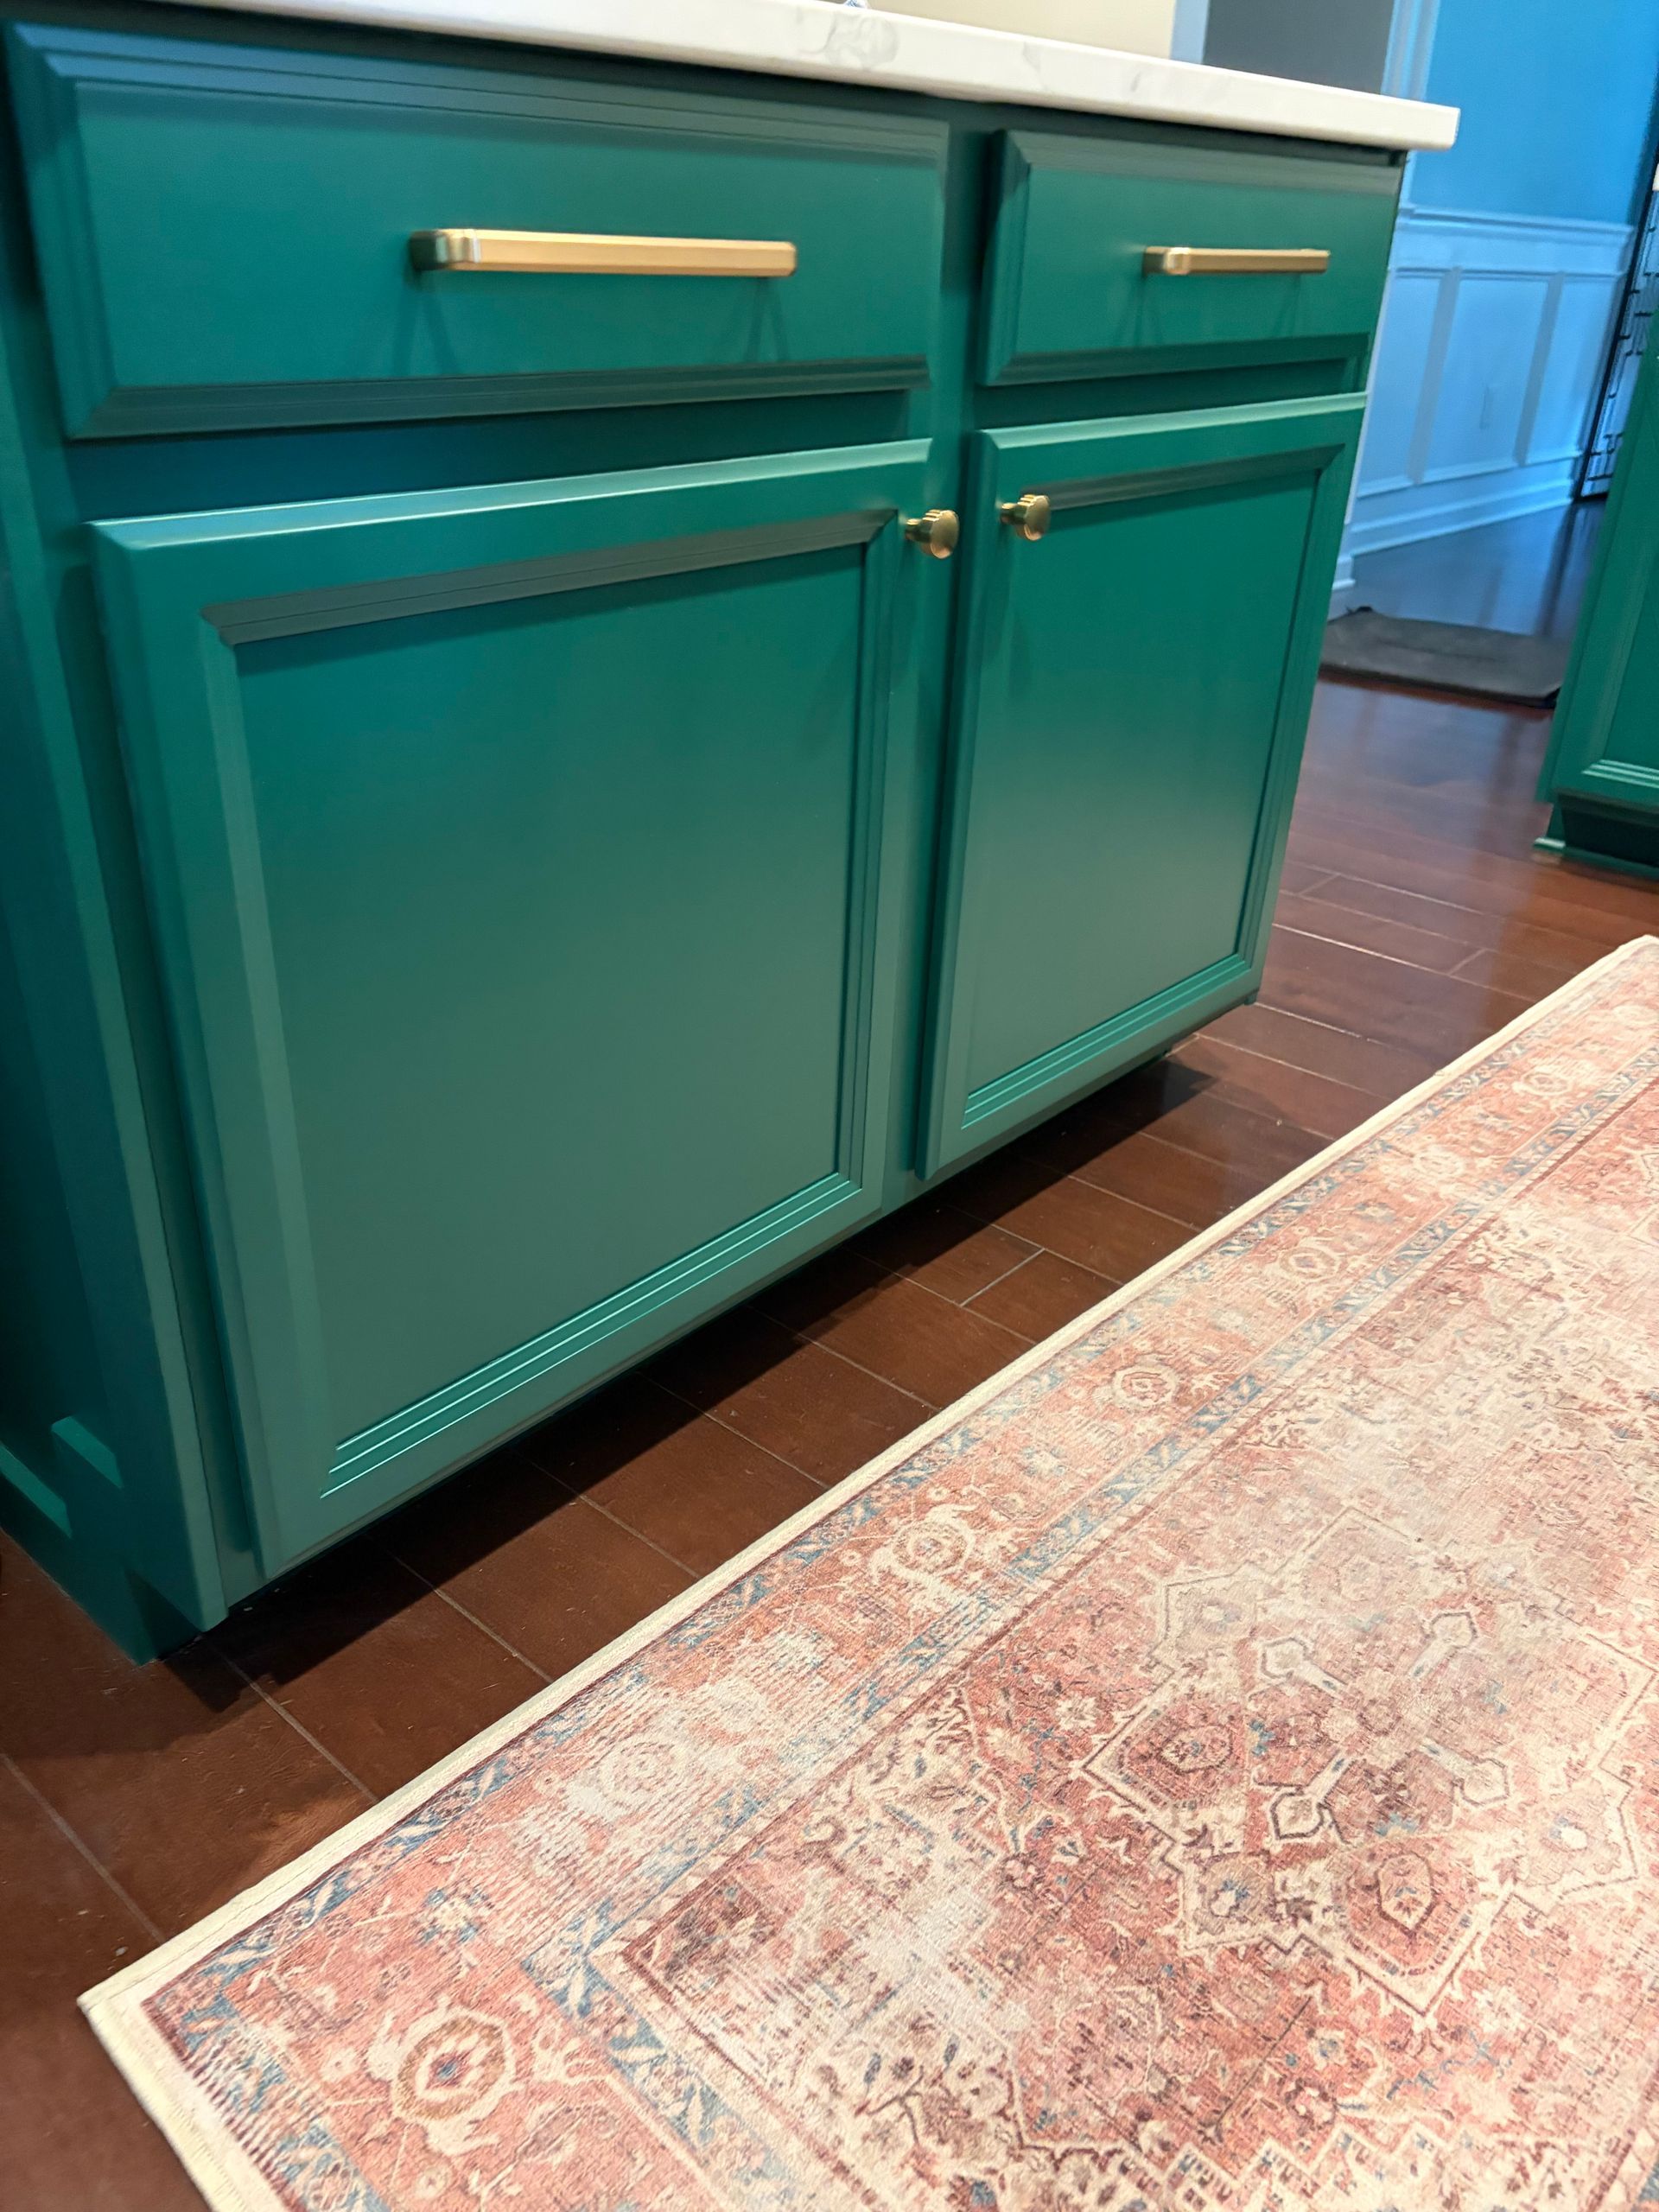
- Moody Darks: Sherwin Williams Rosemary, Sherwin Williams Urbane Bronze, Sherwin Williams Naval, Benjamin Moore Kendall Charcoal and Sherwin Williams Black Magic
- Two-toned Kitchens: Natural woods mixed with painted cabinetry
Finishes: Uniform finishes across the board are a thing of the past. Incorporating a blend of sheens and metals to create a subtle yet complementary contrast with cabinet colors introduces both interest and sophistication to the area. Warm metals such as antique brass can be beautifully combined with classic bronze or satin nickel, while polished brass provides a striking complement to polished chrome. Design professionals advise a maximum combination of 2-3 metals to achieve both interest and harmony within the space.
At A La Carte Cabinet Painting, we provide complimentary expert color consultations designed to assist our clients in selecting shades that perfectly reflect their personality and design aspirations. We also order up to three Samplize color swatches for our clients, allowing them to visualize their preferred color options within their own space. These oversized peel and stick swatches are crafted from genuine paint by Sherwin Williams, Benjamin Moore, PPG, and Farrow and Ball.
Share Post